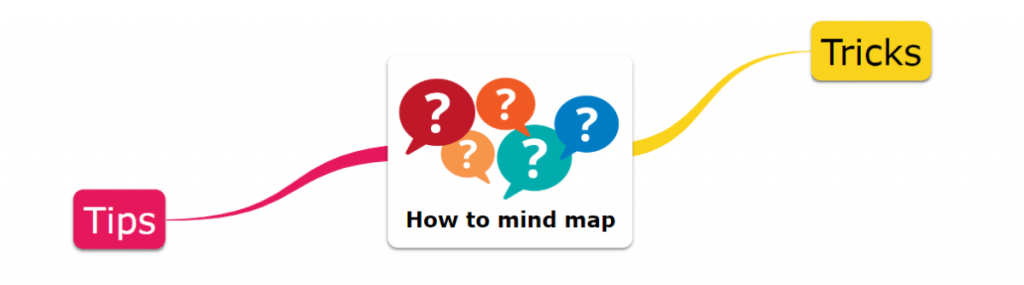
How to Mind Map in 6 Simple Steps
Mind mapping is one of the simplest ways to organize ideas, connect information, and think more clearly. By following a few structured steps, you can create a mind map like a pro. If you’d like to learn more about what a mind map is, explore our dedicated guide.
Let’s go through the step-by-step process to build your first mind map.
1. Choose How to Start Your Mind Map
Nowadays, you can start building a mind map in various ways depending on your needs:
1️⃣ Start from scratch to fully structure your thinking.
2️⃣ Use a mind map template to save time.
3️⃣ Generate a mind map with AI to get instant ideas.
The first step is to choose the starting point that best fits your needs. In the steps below, we’ll focus on the most basic approach, which is creating a mind map from scratch, so you can better understand the process.
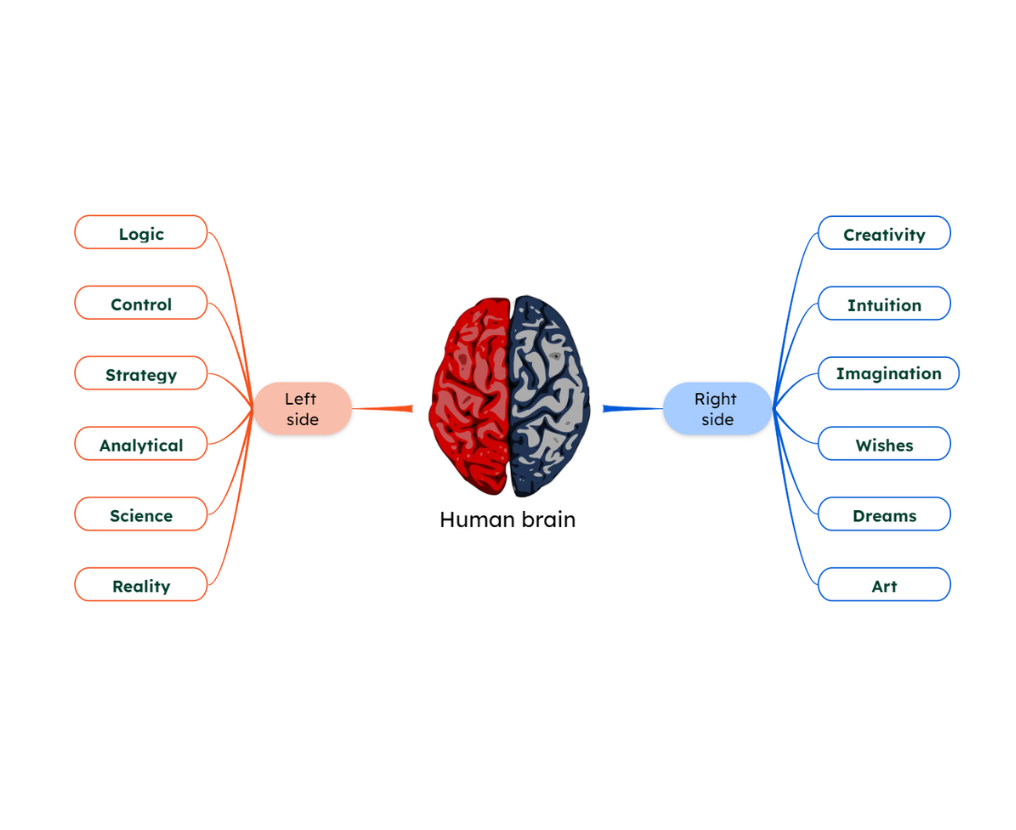
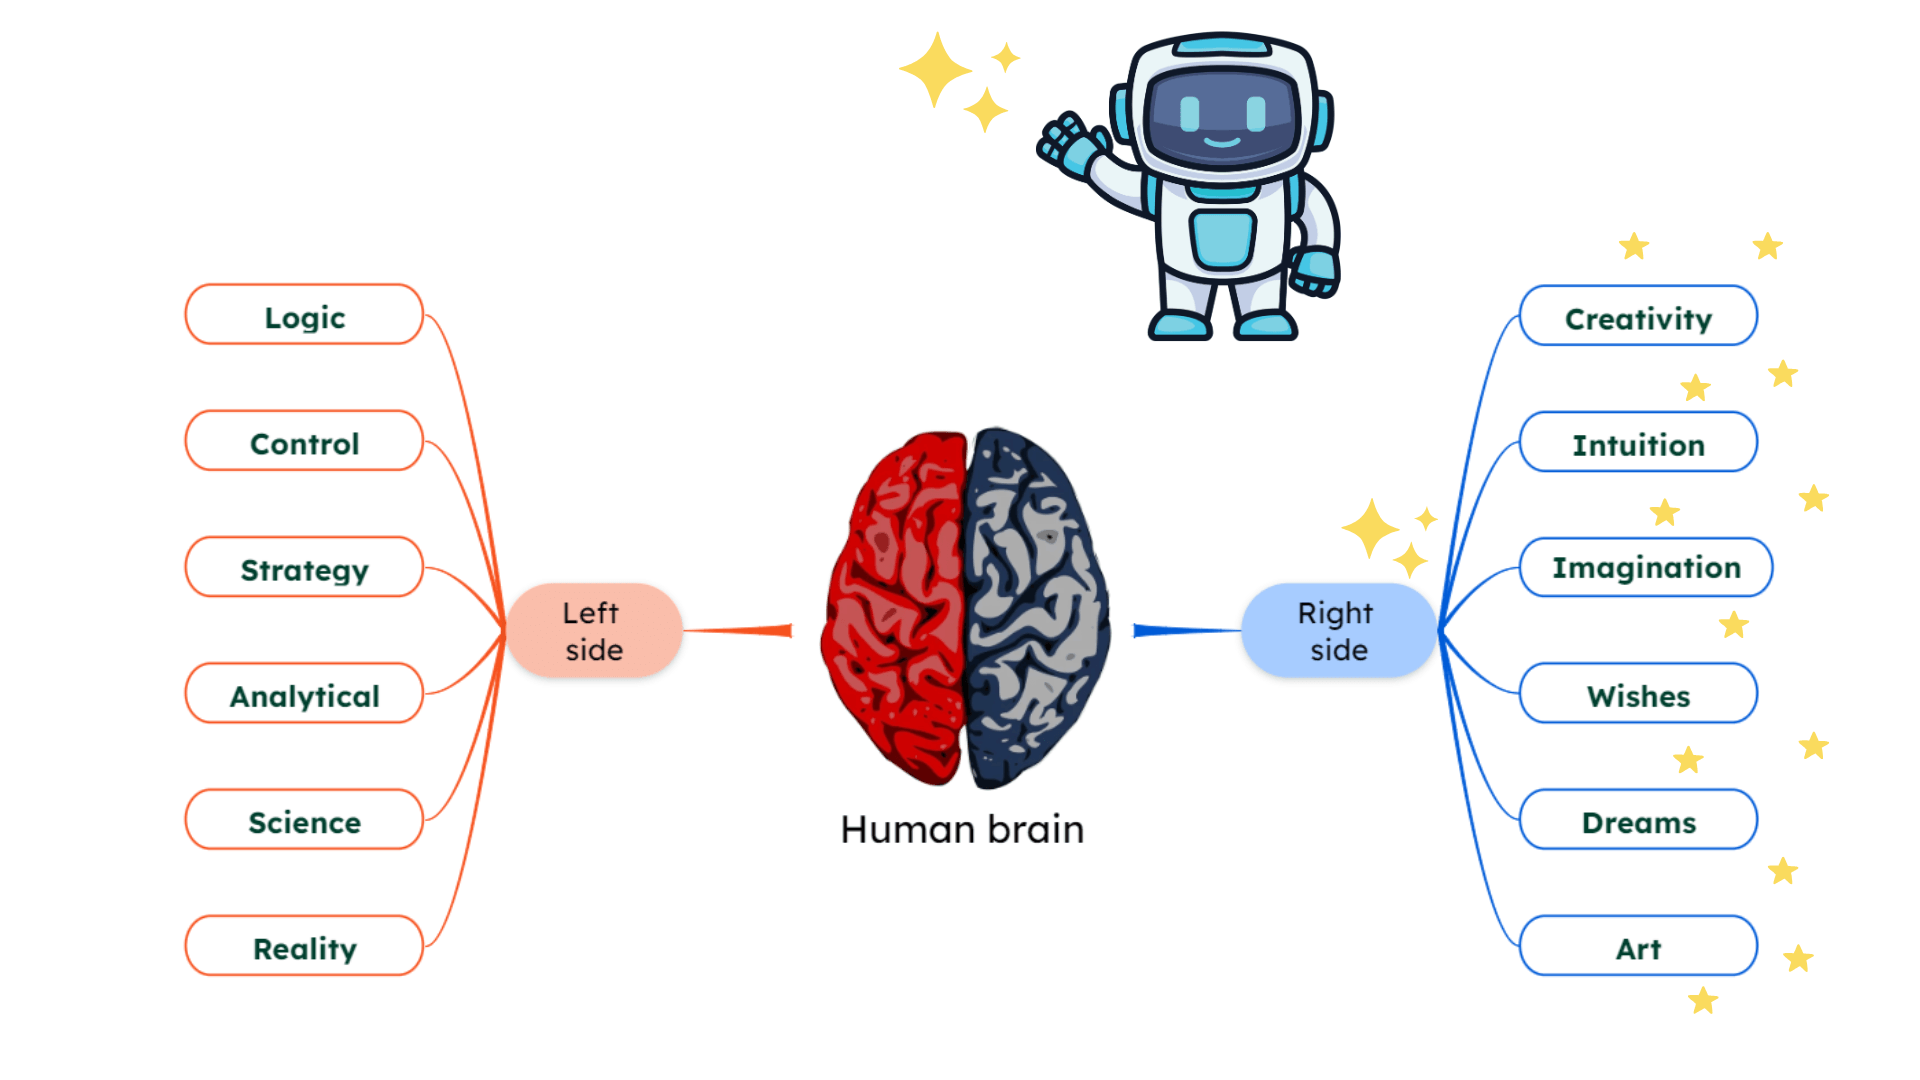
2. Write the Main Idea in the Center
Start by writing the main topic you want to explore and place it in the center of your mind map. This is the core idea from which everything else will grow.
💡Use a short and specific phrase, such as:
-
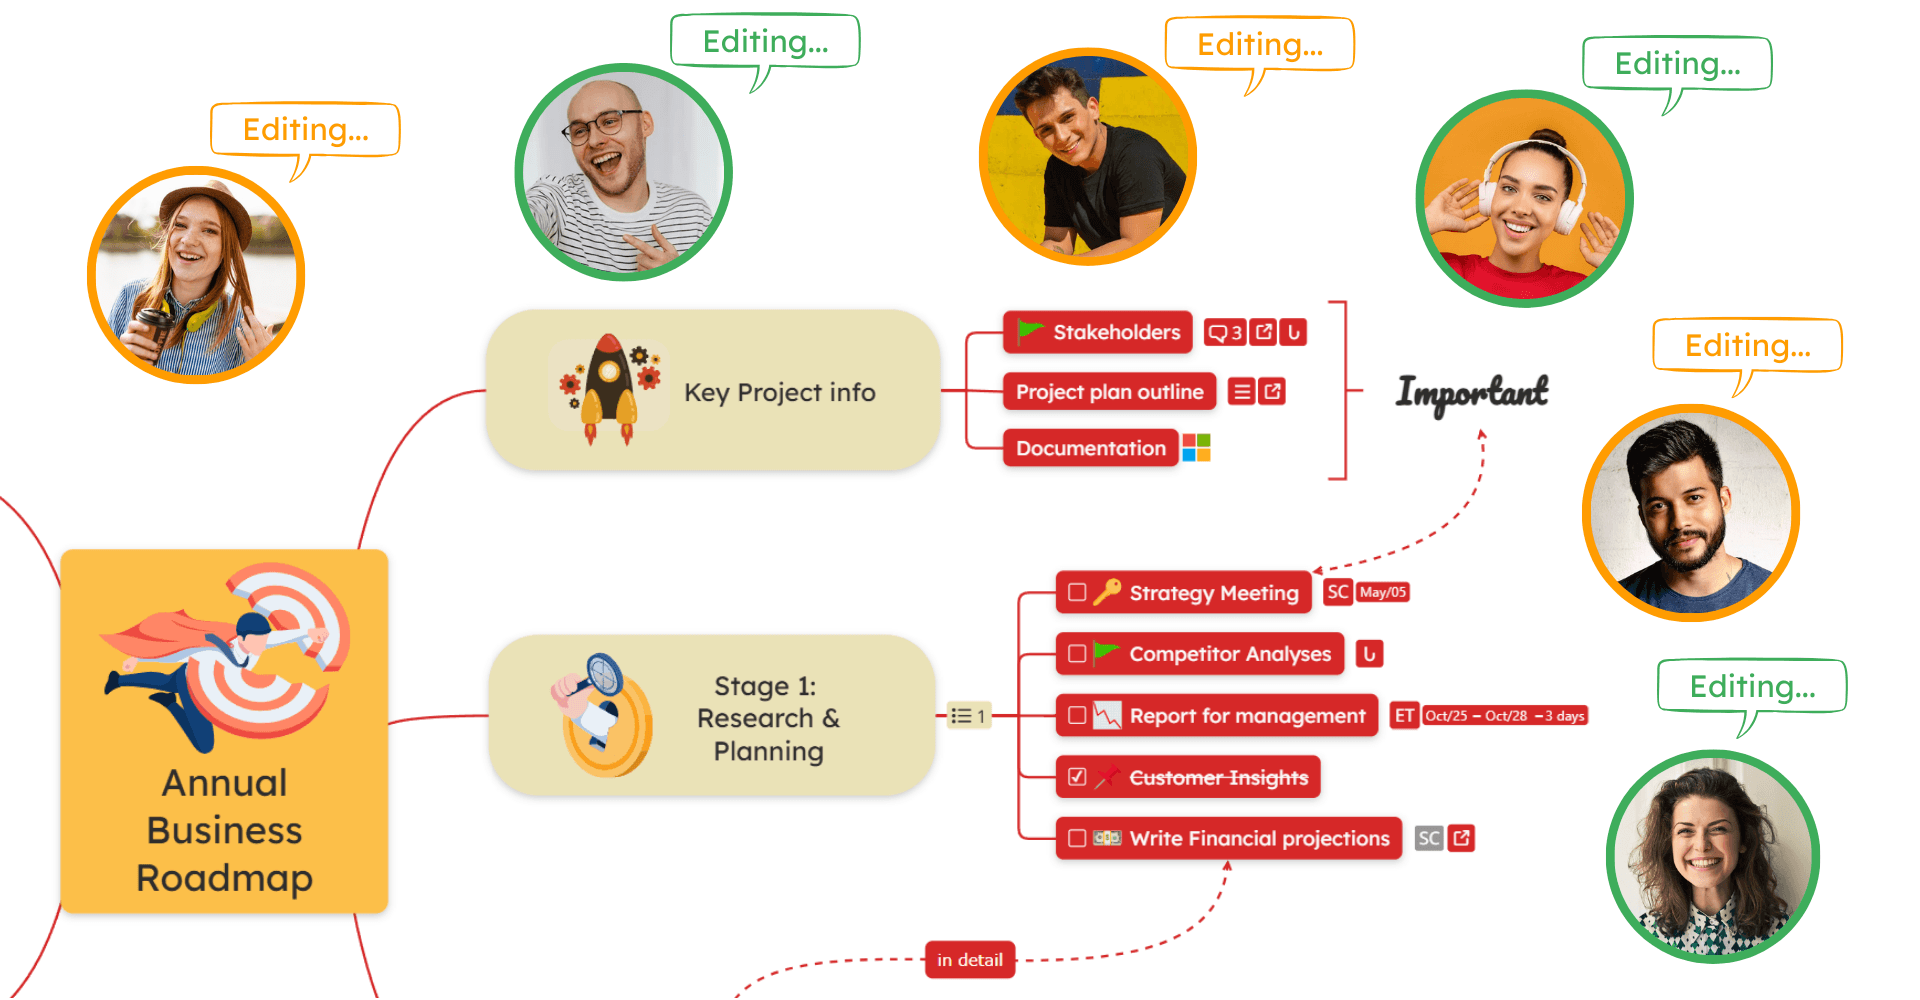
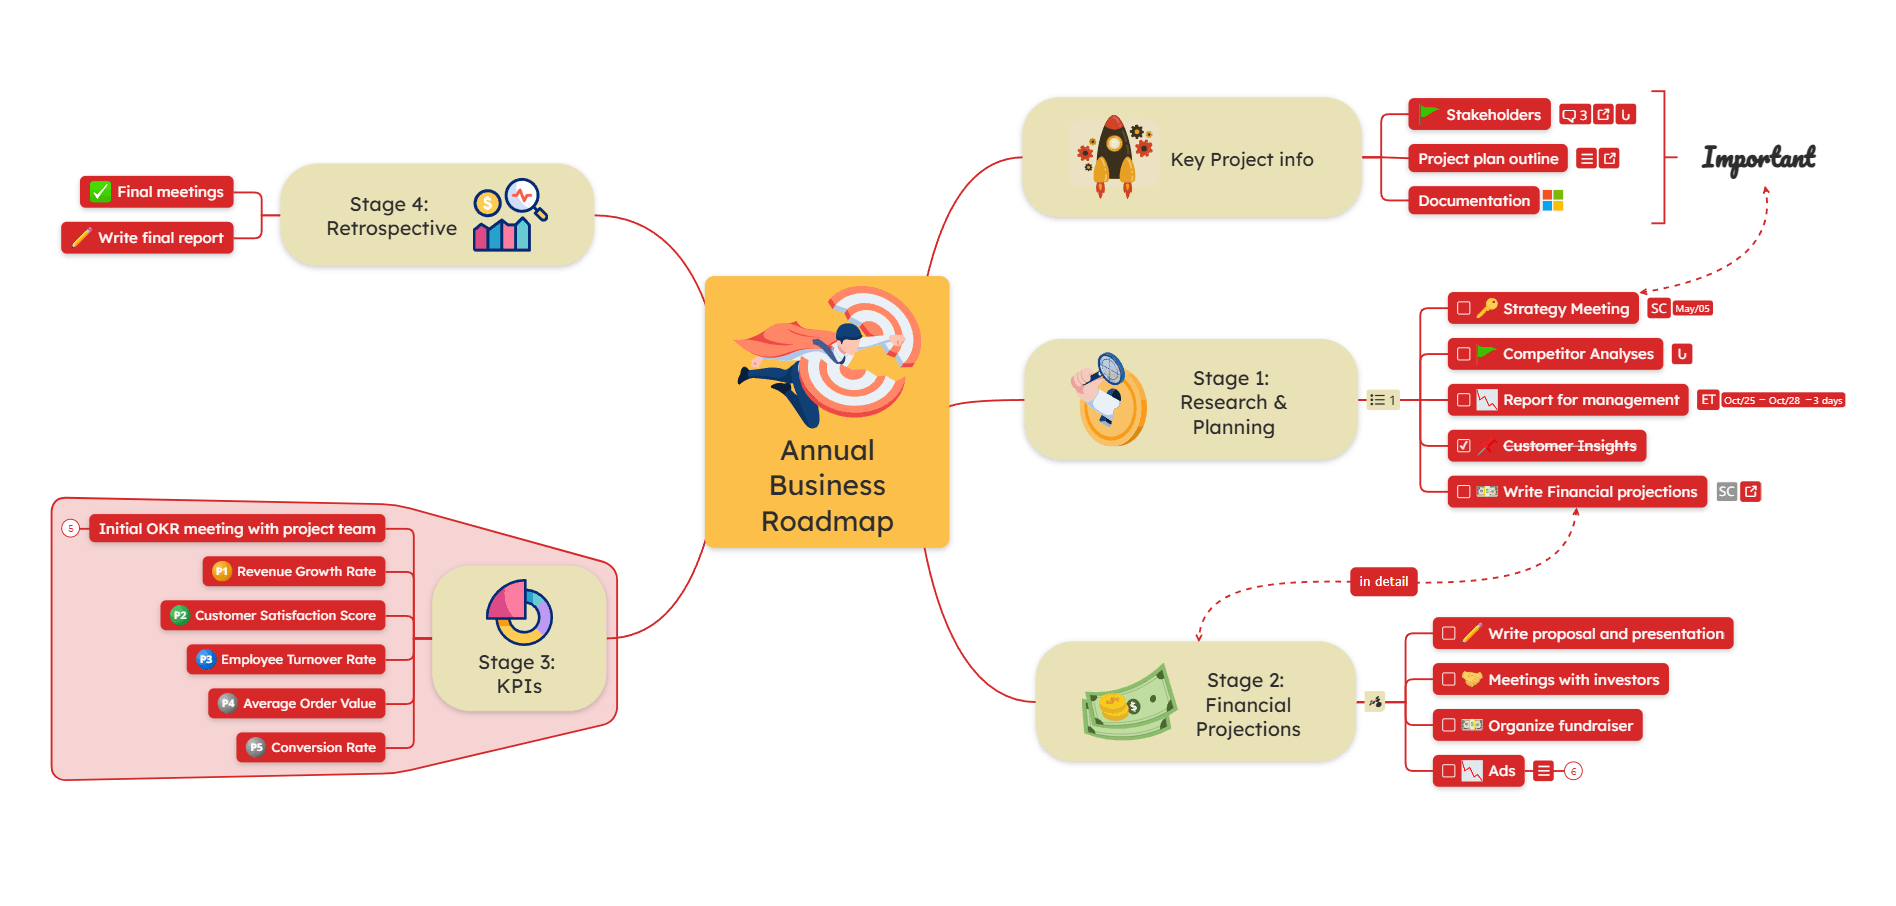
Annual Business Roadmap
-
Marketing Strategy
-
Exam Preparation
Keeping the central topic clear, short, and specific will make it easier to organize the rest of your ideas around it.

3. Add Related Branches
Create the first level of branches around your central idea. These should represent the main categories, key themes, or stages related to your topic.
For our Annual Business Roadmap example, the main branches could be:
-
Key Project Info
-
Stage 1: Research & Planning
-
Stage 2: Financial Projections
-
Stage 3: KPIs
-
Stage 4: Retrospective
💡These branches form the basic structure of your mind map. Try to add 3-7 branches at the first level to avoid overloading your mind map.
As mentioned in the previous step, keep the branches short and focused, using KEYWORDS rather than full sentences.

4. Expand with Sub-Branches
There’s a well-known saying: “The best way to deal with a big task is to break it down into smaller pieces.” This is exactly what you do in a mind map.
Now, take each main branch and expand it into subtopics (don’t forget to keep them short and focused).

This step helps you build depth and clearly structure your ideas.
👉 If you use AI, you can automatically generate relevant subtopics.
5. Add Visual Elements
They say “a picture is worth a thousand words,” right? Mind maps are visual by nature, but you can enhance this even further by adding visual elements to your topics.
Make your mind map easier to understand by using:
➡️ Icons or labels to highlight important points or categorize topics (and use them to filter topics later)
➡️ Images or videos to make concepts more memorable
➡️ Color coding to differentiate levels or types of information (for example, using a different color for each hierarchy level)

6. Connect related ideas and add resources
Now you can identify related ideas and add connections between them. You can use:
🟡 Relationships: to show how ideas are connected to each other
🟡 Summaries: to clarify ideas or provide additional context
🟡 Boundaries: to highlight a group of ideas
And you can also enrich your mind map with resources, for example:
🟢 Links to external sources.
🟢 Attachments: PDF documents, files, etc.
🟢 Notes to explain in detail without overcrowding the mind map.
🟢 Checkable tasks: in case you plan to turn the mind map into a to-do list.

7. Share, collaborate, or export your diagram (optional step)
You can share the diagram with others and continue developing it together. You may either:
➡️ Collaborate in real time, allowing multiple people to view, edit, and expand the diagram together.
➡️ Export the mind map once it is complete in over 20 formats.
How to make a mind map with AI?
Creating a mind map with AI is one of the fastest ways to turn ideas into a structured visual diagram. Instead of building everything manually, AI can generate a complete mind map based on a simple prompt.
All you need to do is enter a topic, and the AI will automatically build one of the following types of diagrams of your choice:
⭐ Brainstorming of a topic or idea.
⭐ SWOT Analysis of your project or business.
⭐ Pros and Cons of a decision or choice.
⭐ Website mind map: you can paste a link to a website, and the AI will generate a mind map with the website content.
⭐ Mind map from text: you can paste a text (it can be a document, article, essay, etc.) and the AI will transform it into a structured mind map in seconds.
Once generated, you can edit the diagram as you like, add more topics, subtopics, connections, resources, etc., following the steps you learned in this guide.
💡 Try it yourself with our AI mind map generator and create a mind map instantly.
Use a mind map template
Another simple way to start with a mind map is to use a template as a starting point. Templates give you a ready-made structure, helping you organize ideas faster and avoid starting from a blank page.
📌 Check out the template library where you can find a wide range of templates grouped by categories. You can edit it as you like, adding resources, connections, subtopics, etc.

How should your mind map look?
Tips & Best Practices
💡 Tip #1: Keep your structure flexible

💡 Tip #2: Focus on clarity, not complexity
A good mind map is easy to scan. Avoid overcrowding it. Keep it clean and well-organized. Add additional details in:
📌 comments
📌 notes
📌 attachments
This way, they are not visible at all times.
💡 Tip #3: Differentiate the levels of the mind map
Mind maps are hierarchical structures, so make sure you leverage this feature and ensure it’s easy to read.
How? Simple, make sure you:
🟠 Use different sizes for each level of the diagram: apply this to font sizes, topic sizes, or line thicknesses.
🟠 Use different colors for each level or category of information in the diagram.
🟠 Use icons to highlight important concepts or categories. You can also filter topics by icons in the search bar.
🟠 Combine different layouts in the same diagram to create a more visual and engaging experience: for example, you can make a subtopic timeline or a mind map with a tree layout.
🟠 Add an eye-catching central image always. Then try to add images to the rest of the map as well. As visual representations, images, icons, and videos are very welcome in your mind map.
💡 Tip #4: Use your mind map as a working space
Don’t treat it as a static diagram. Update it, refine it, and use it to manage ideas, tasks, or projects over time.
If you want to use it for tasks and projects, make sure you read our guide on how to prioritize tasks.

💡 Tip #5: Reuse your best maps as templates
Turn your own mind maps into templates and reuse them for recurring workflows or projects.
This is an advanced tip, but it can save you a lot of time in the long run. If you reuse the same structure for multiple projects, this is a great way to save time and avoid starting from scratch every time.

💡 Tip #6: Use mobile apps to capture ideas anywhere
With a mobile app, you can add ideas on the go and sync changes automatically across devices. Especially for note-taking (learn more about how to take notes effectively) or brainstorming, this is a great way to stay productive on the go.
📱 Download a mobile mind map app for iOS or Android to have easier access to your diagrams.
💡 Tip #7: Turn your mind map into a presentation
Transform the mind map into a slideshow presentation. This structure is perfect for presenting your ideas to others. It will be easier to follow and understand compared to a traditional PowerPoint presentation.
See how to make effective presentations using mind maps in the step-by-step guide.

❗Common Mind Mapping Mistakes
Even though mind mapping is simple, a few common mistakes can make your maps harder to use and less effective. Here’s what to avoid:
❌ Overloading your mind map with text
Avoid using too much text in your topics. Use short phrases, keywords, or images instead.
❌ Using long sentences instead of keywords
Mind maps work best with short, meaningful keywords that are easy to scan and understand.
❌ Losing the visual hierarchy
If branches are not clearly structured, your map becomes difficult to follow. Keep a clear flow from main ideas to subtopics.
❌ Mixing unrelated ideas
Group related concepts together and use boundaries or structure to separate different topics.
❌ Not updating your mind map
A mind map should evolve. Regularly refine it as your ideas develop, or your project progresses.
❌ Focusing too much on design over clarity
Colors and visuals are helpful, but they should support understanding, not distract from it.
Prefer to see the process of making a mind map in action? Watch the video below to learn how to mind map step by step.
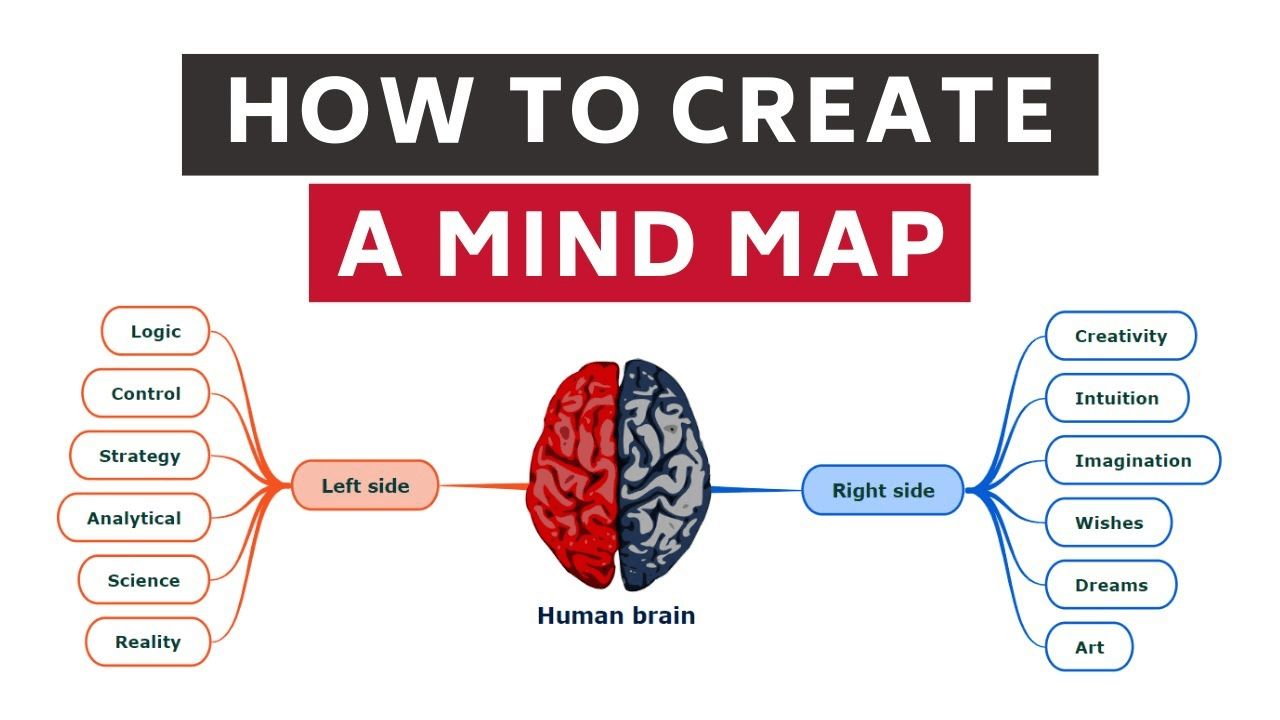
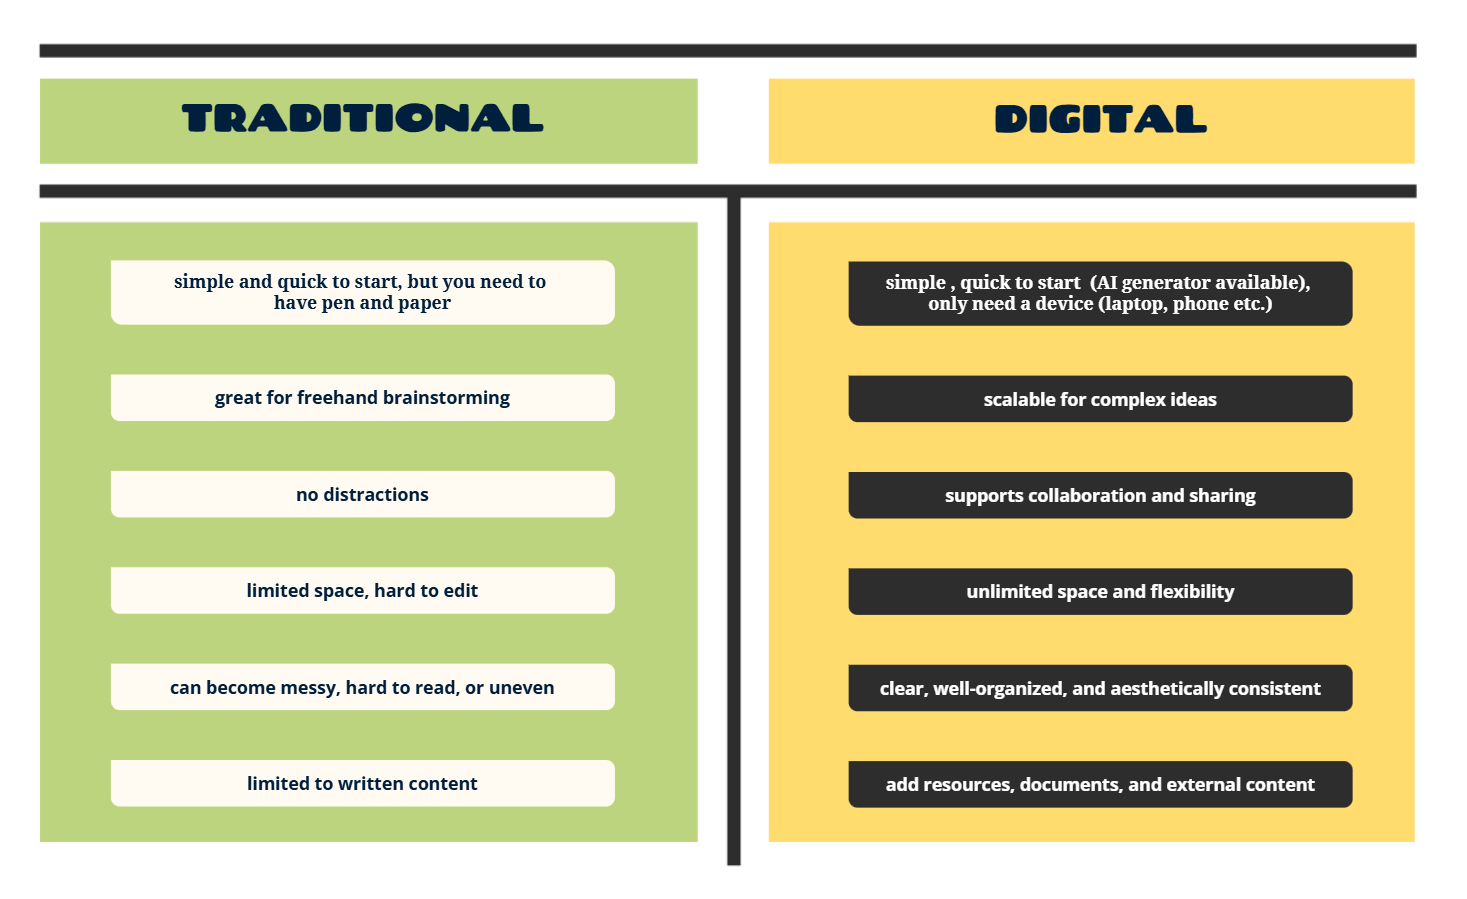
Traditional vs Digital Mind Maps
1. Traditional mind mapping
2. Digital mind mapping
Which one should you use?
Create a mind map now
Ready to create your own mind map? Start with Mindomo and turn your ideas into clear, structured diagrams in minutes.
The more you practice, the faster and more naturally your ideas will take shape.
FAQs
A mind map is used to organize ideas, structure information, and visualize connections between concepts. It’s commonly used for brainstorming, note-taking, project planning, studying, and problem-solving.
Learn more about what a mind map is by reading the dedicated guide.
The idea that mind maps help you learn 60,000 times faster comes from a commonly cited claim that the brain processes visual information up to 60,000 times faster than text.
It is proven that mind mapping can significantly improve learning by helping you organize information visually, understand relationships between ideas, and recall key concepts more easily. It’s an effective technique for studying, summarizing, and retaining information.
👉 Explore some studies about how Mindomo supports learning and education.
To create a mind map, start by signing up for a free account, then log in and click “Create”, and choose one of the following options:
1️⃣ Start from scratch
2️⃣ Generate a mind map with AI
3️⃣ Start from a template
👉 Learn how to create a mind map step by step in our comprehensive guide.
Yes. Mindomo allows you to share your mind maps with others and collaborate in real-time. You can invite team members, friends, or colleagues to view, edit, and expand the map together.
You can export your mind maps in over 20 formats, including PDF, PNG, JPG, SVG, MindManager, FreeMind, and more. This makes it easy to share your ideas with others or use them in other applications.